
For all those fellow artistic types, I've decided to put together a primer on
making polymer clay figures, heads, or whatever else you fancy. The tools and
techniques I describe in the following sections are just the way I do it, but
there are many other great ways to go about creating excellent pieces. I hope this helps for those who are just getting
started, folks who just need a refresh, or other artists looking for other
techniques. This may seem a bit dry at first, but if you read through it I'm
sure you won't regret it. And if I'm lucky and I get enough feedback, I will be
more than happy to do more in-depth posts on this topic in the future. Happy
modeling!
EDIT: 2.12.2013: Just interested in just making a quick head like I have pictured here? Check out the quick step-by-step guide "Making a Sculpey Head...Quick!" under the Pages Tab.
EDIT: 2.12.2013: Just interested in just making a quick head like I have pictured here? Check out the quick step-by-step guide "Making a Sculpey Head...Quick!" under the Pages Tab.
Okay, Step #1: Get your Supplies in Order:
If you dork out as soon as you enter any craft store, then this step is great. Be forewarned
though that like anything there is an initial investment you'll want to make.
The good news is, with Sculpey you have a ton of leeway between starting and
finishing the piece your working on and can thus make "installments" on
what you want to buy and when. In this section I will be introducing you to
what I like to have laying around, from start to finish.
Armature
Supplies:
 Making
an armature is an important step not to
leave out. One of the worst things you can see happen to a great looking piece
is either it has fingerprints and smudges all over, or a flat edge from where
it was being worked. Nothing like erasing all your awesome detail work in about
2.5 seconds.
Making
an armature is an important step not to
leave out. One of the worst things you can see happen to a great looking piece
is either it has fingerprints and smudges all over, or a flat edge from where
it was being worked. Nothing like erasing all your awesome detail work in about
2.5 seconds.
For
starters, get a nice flat, clean board to work with, maybe about 1/2 inch thick,
6in x 6in. I use planks of solid oak that have been sanded, but laminated
boards and metal stands are also perfect. The big thing to consider here is the
size of your finished piece. Small pieces only need a small platform, while
larger pieces may need a more complex set up of steel pipe and couplings. Also make sure that whatever surface you
choose to set your armature on, it's solid and won't move on you during your
work.
.JPG) Either
a piece of all thread (5/16 inch) with a matching nut or a long stiff wire like a coat hanger is
another item you will need. This gives you a way to support your armature and
keep it in place on your work board. After drilling a hole in it (with a bit and drill, yes), you can stick
it down and then twist it to keep it in place.
Either
a piece of all thread (5/16 inch) with a matching nut or a long stiff wire like a coat hanger is
another item you will need. This gives you a way to support your armature and
keep it in place on your work board. After drilling a hole in it (with a bit and drill, yes), you can stick
it down and then twist it to keep it in place.  Steel
armature wire, metal snips, and pliers. You will use these to create the
general (very general) shape of your piece, kind of like a skeleton. You will
need between 12 and 16 gauge wire for this and can find them in a decent sized
spool at any hardware store for relatively cheap. This will probably last
awhile. The snips need to be decent because you will get a lot of use out of
them, but the pliers are only used for shaping and don't need to be anything
fancy.
Steel
armature wire, metal snips, and pliers. You will use these to create the
general (very general) shape of your piece, kind of like a skeleton. You will
need between 12 and 16 gauge wire for this and can find them in a decent sized
spool at any hardware store for relatively cheap. This will probably last
awhile. The snips need to be decent because you will get a lot of use out of
them, but the pliers are only used for shaping and don't need to be anything
fancy..JPG)
 Next
you will need a roll of aluminum foil. I usually get the cheap stuff, but you
can buy the good stuff for your kitchen and then recycle it back to your
workspace if it's clean enough after using. Two birds with one stone! Aluminum
foil is one of the best mediums for bulking out your wire armature as it is
cheap and can be baked without fear or repercussions.
Next
you will need a roll of aluminum foil. I usually get the cheap stuff, but you
can buy the good stuff for your kitchen and then recycle it back to your
workspace if it's clean enough after using. Two birds with one stone! Aluminum
foil is one of the best mediums for bulking out your wire armature as it is
cheap and can be baked without fear or repercussions. .JPG)
.JPG)

 This
comes in two main flavors (please don't actually test this out): the Super Sculpey
original which looks kinda pink, and the Super Sculpey Firm, which is grey. One
thing you'll notice once you really get cracking with your first model or
whatever, is that as you work with Sculpey and it gets warm, it has a tendency
to move around a lot easier. This is great for roughing out your first
features, but as you get into more complex details, such as textures, this
becomes a hassle. This is where Firm Sculpey is much better, it retains more
easily, even when warmed up. This of course presents challenges too, you can't
knead it as easily, and it rips sometimes instead of bending. All this aside,
depending on what project you're working on, either one of these could be
better than the other. Last note, Sculpey comes in a whole range of colors, but
those packages of pre-colored Sculpey are more expensive and there's no reason
you can't paint your finished pieces anyway. More on that later.
This
comes in two main flavors (please don't actually test this out): the Super Sculpey
original which looks kinda pink, and the Super Sculpey Firm, which is grey. One
thing you'll notice once you really get cracking with your first model or
whatever, is that as you work with Sculpey and it gets warm, it has a tendency
to move around a lot easier. This is great for roughing out your first
features, but as you get into more complex details, such as textures, this
becomes a hassle. This is where Firm Sculpey is much better, it retains more
easily, even when warmed up. This of course presents challenges too, you can't
knead it as easily, and it rips sometimes instead of bending. All this aside,
depending on what project you're working on, either one of these could be
better than the other. Last note, Sculpey comes in a whole range of colors, but
those packages of pre-colored Sculpey are more expensive and there's no reason
you can't paint your finished pieces anyway. More on that later.
Clay
Working Tools:
.JPG)
 You
don't need to go crazy here, as I said before, Sculpey is perhaps one of the most
forgiving mediums you can use. I love my plastic tool set I bought for $7 from
Hobby Lobby. It includes 9 tools and works great for everything from roughing
out to finishing details.
You
don't need to go crazy here, as I said before, Sculpey is perhaps one of the most
forgiving mediums you can use. I love my plastic tool set I bought for $7 from
Hobby Lobby. It includes 9 tools and works great for everything from roughing
out to finishing details.
I
also have a used band saw blade, and a hack saw blade in my arsenal. These are
awesome for getting quick chunks of Sculpey cut off from your main block. Just
be careful, even if they don't cut metal or wood so well, your fingers are
still fair game.
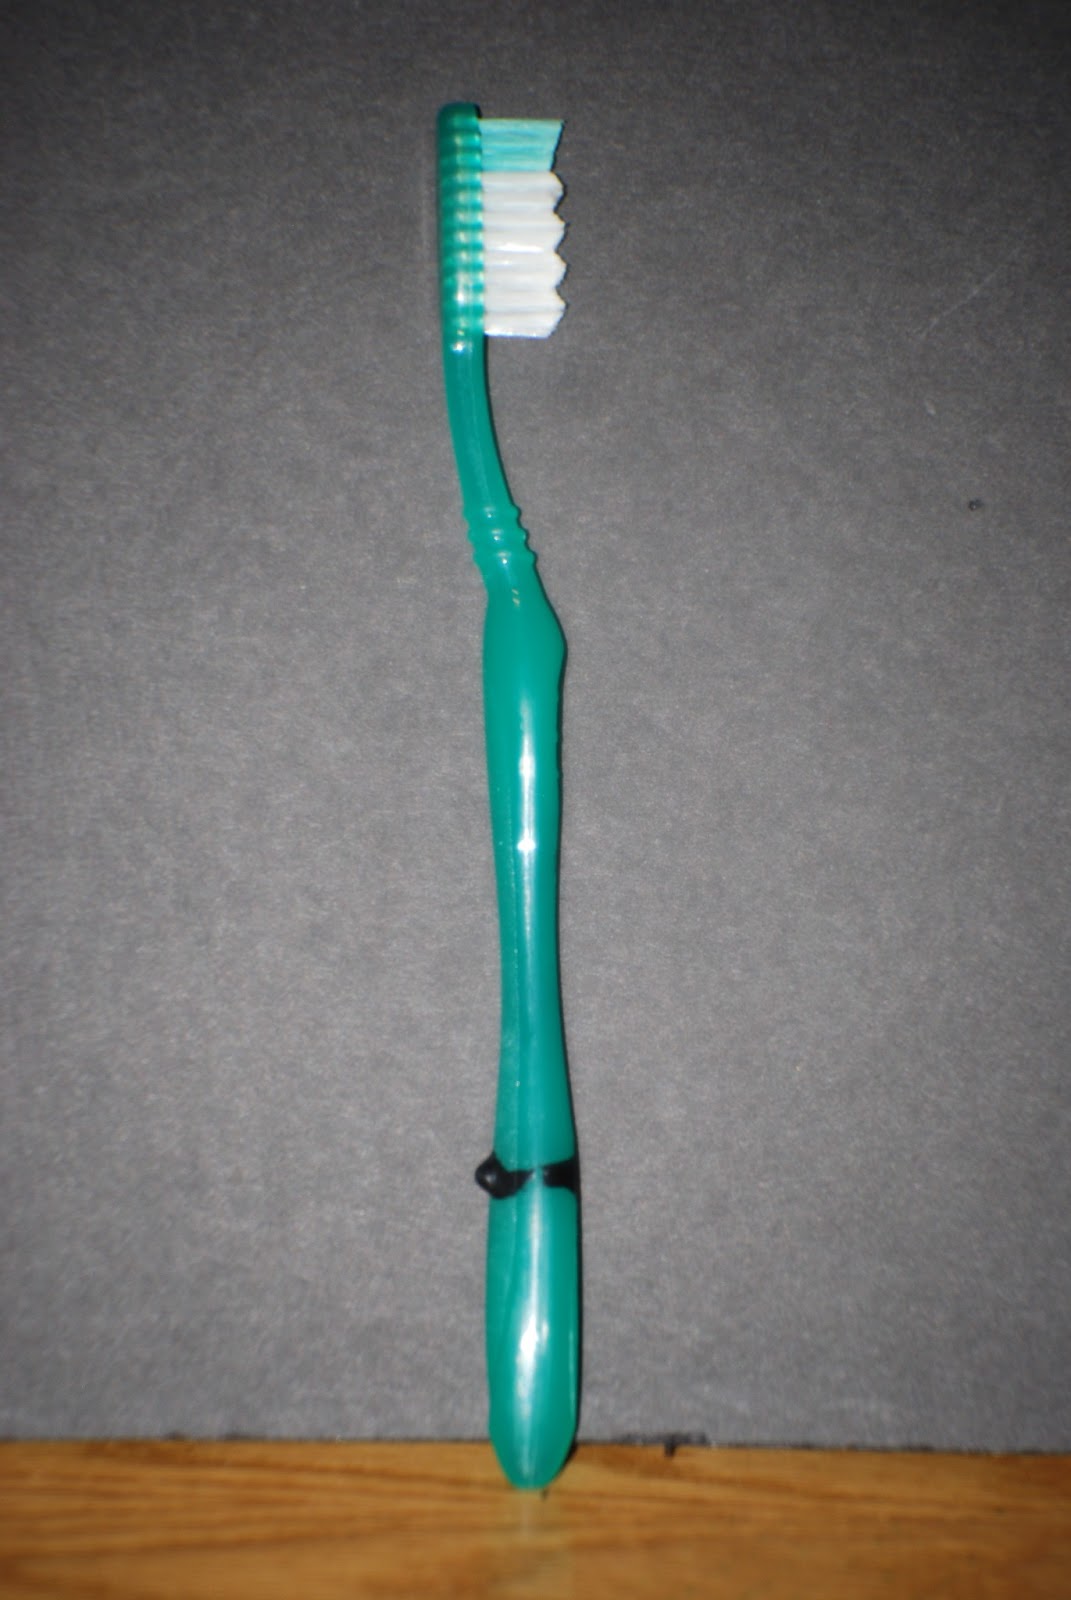
A
toothbrush is next and it provides everything from giving texture, to smoothing
over areas where you grafted two or more pieces together.

 I
have an old set of woodcarving chisels that afford me the ability to quickly
and cleanly cut, reshape, and provide textures like grooves, etc. These are a
bit more expensive and not entirely necessary, but they are great to have
around.
I
have an old set of woodcarving chisels that afford me the ability to quickly
and cleanly cut, reshape, and provide textures like grooves, etc. These are a
bit more expensive and not entirely necessary, but they are great to have
around. 
 Harbor
Freight is an excellent place for sculpting artists and enthusiasts to go.
Decent tools at cheap prices, and you really don't need much else. Probes for
example (think back to high school biology dissections) are only a couple of
bucks there and give you the ability to put on hair-thin details for finishing
your pieces.
Harbor
Freight is an excellent place for sculpting artists and enthusiasts to go.
Decent tools at cheap prices, and you really don't need much else. Probes for
example (think back to high school biology dissections) are only a couple of
bucks there and give you the ability to put on hair-thin details for finishing
your pieces.
 Another
great thing to have in your inventory is a drill bit or two. This makes
inserting extra pre-cooked pieces, such as hair, arms, whatever, much easier. I
just took a piece of 1/2 inch dowel rod and put two drill bits in, one on each
end, and voila, instant hand held drill.
Another
great thing to have in your inventory is a drill bit or two. This makes
inserting extra pre-cooked pieces, such as hair, arms, whatever, much easier. I
just took a piece of 1/2 inch dowel rod and put two drill bits in, one on each
end, and voila, instant hand held drill.
The
next tool is the pasta maker. Although the model I have is cheap and does it's
job okay, having a motor driven version for about $100 makes a huge difference
if you are making more than one piece per week. I found that when I was
cranking on the handle o the $20 one it started stripping out the inside of the
plastic handle. Get one either way though because making sheet of 1/4 inch Sculpey in two seconds
versus hand rolling adds consistency and time efficiency.
Paints
and finishes:
 Although
Sculpey can be painted, the best method for using acrylic paints (water-based)
is to prime the figures first. This step happens after baking, but regardless
of that, I like to use Artists' Gesso. This stuff takes forever to go bad (I've
had mine for well over 6 years), covers exceptionally well, and usually only
costs about $6-10 for a half gallon. Honestly it covers so well I have yet to
refill my little baby food jar I use to store it in small amounts. As long as
you don't glob it on and you spread it evenly, this stuff takes top-coats of
colored paint like a pro.
Although
Sculpey can be painted, the best method for using acrylic paints (water-based)
is to prime the figures first. This step happens after baking, but regardless
of that, I like to use Artists' Gesso. This stuff takes forever to go bad (I've
had mine for well over 6 years), covers exceptionally well, and usually only
costs about $6-10 for a half gallon. Honestly it covers so well I have yet to
refill my little baby food jar I use to store it in small amounts. As long as
you don't glob it on and you spread it evenly, this stuff takes top-coats of
colored paint like a pro. An
array of acrylic paint colors is a good I dead for finishing your work. They
are cheap and cover decently for the price. If you want the most professional
look though (and expensive!), skip the Gesso and acrylic double-whammy and just
get oil based paints like you would get for hobby models.
An
array of acrylic paint colors is a good I dead for finishing your work. They
are cheap and cover decently for the price. If you want the most professional
look though (and expensive!), skip the Gesso and acrylic double-whammy and just
get oil based paints like you would get for hobby models.  Last
thing here, final finishing coats. Best idea here? Spray on top coats. These most
commonly come in matte (no shine), satin (small shine), semi-gloss (medium
shine), and gloss (high shine) so choose accordingly to how you want the end
result to look. Remember, the higher the gloss the more durability, but for
more realism and such, go for a matte or satin finish. Also keep in mind that
these top-coats are just like whatever you put under them: if you used water
based, use water based top coat (or a lacquer), if you used oil, use an
oil-based spray. All of these basic options should be available at a hardware
store for a couple of dollars, but there are better selections for quality at
artist depots and hobby stores, just be ready to shell out more for those.
Last
thing here, final finishing coats. Best idea here? Spray on top coats. These most
commonly come in matte (no shine), satin (small shine), semi-gloss (medium
shine), and gloss (high shine) so choose accordingly to how you want the end
result to look. Remember, the higher the gloss the more durability, but for
more realism and such, go for a matte or satin finish. Also keep in mind that
these top-coats are just like whatever you put under them: if you used water
based, use water based top coat (or a lacquer), if you used oil, use an
oil-based spray. All of these basic options should be available at a hardware
store for a couple of dollars, but there are better selections for quality at
artist depots and hobby stores, just be ready to shell out more for those..JPG) Quick note, Sculpey can become quite fragile, especially as it comes out of the oven and if your detail work is delicate. Solution? Super Glue, it works like a champ.
Quick note, Sculpey can become quite fragile, especially as it comes out of the oven and if your detail work is delicate. Solution? Super Glue, it works like a champ.Storage of Sculpey:
 I use just a simple set of Gladware containers here. It keeps the clay all in one place, it's cheap, and durable enough to get the job done.
Step #2: No Plan, No Project:
 Remember
that test you took back in high school? The one you didn't even study for and
you still got an 'A'? Well working on art projects isn't like that and I hope
I'm just preaching to the choir here. Your
first thing is to sketch out a design or idea. This helps get your brain in the
right place to anticipate the order through which you will make your piece. The
more complex your piece, the more you need to plan. Now I know, you saying
"Dude, I'm just making a goblin head. I'm not adding any crazy details, no
paint, nothing. Why should I care about planning it out?" Well to that I
say, "Why not?" You could make it better
for having planned it out and to be honest, you might like the end result more.
So don't skimp on this step. You don't have to sketch like Leonardo da Vinci to
get an idea out, those sketches are for you to understand where to put
joints, come up with ideas, and even place
a skeleton of your armature. And who
knows if you stick with it long enough, maybe those sketches might look pretty
B.A..
Remember
that test you took back in high school? The one you didn't even study for and
you still got an 'A'? Well working on art projects isn't like that and I hope
I'm just preaching to the choir here. Your
first thing is to sketch out a design or idea. This helps get your brain in the
right place to anticipate the order through which you will make your piece. The
more complex your piece, the more you need to plan. Now I know, you saying
"Dude, I'm just making a goblin head. I'm not adding any crazy details, no
paint, nothing. Why should I care about planning it out?" Well to that I
say, "Why not?" You could make it better
for having planned it out and to be honest, you might like the end result more.
So don't skimp on this step. You don't have to sketch like Leonardo da Vinci to
get an idea out, those sketches are for you to understand where to put
joints, come up with ideas, and even place
a skeleton of your armature. And who
knows if you stick with it long enough, maybe those sketches might look pretty
B.A..
Step #3: Set Up Your Armature:
 There
is a plethora of ways to do this. Just
check out YouTube and you'll see what I mean, but the real question is the size
of your piece. If you have a small
piece, there's no reason to invest in steel pipe and all that, because all you
really need is a good supply of steel wire and a rod.
There
is a plethora of ways to do this. Just
check out YouTube and you'll see what I mean, but the real question is the size
of your piece. If you have a small
piece, there's no reason to invest in steel pipe and all that, because all you
really need is a good supply of steel wire and a rod. .JPG)
 Moving
from here, take the board and drill a hole in it that is tje same size as the support rod or wire you chose to use. This will keep it in place better
than if your hole is exactly the same size or slightly larger. Next, either
using a counter sink bit, or a much larger drill bit, make a second hole a
third of the way through your original hole. Although this is much easier to do
with a drill press, there's nothing stopping you from using a normal drill.
This gives you the required space to either store the extra wire or attach a
nut on the backside of the board and keep the support rod from moving. Remember,
where you put this hole should be in the best location to allow for your piece
to remain completely on the board, you don't want a leg or something hanging off
the end.
Moving
from here, take the board and drill a hole in it that is tje same size as the support rod or wire you chose to use. This will keep it in place better
than if your hole is exactly the same size or slightly larger. Next, either
using a counter sink bit, or a much larger drill bit, make a second hole a
third of the way through your original hole. Although this is much easier to do
with a drill press, there's nothing stopping you from using a normal drill.
This gives you the required space to either store the extra wire or attach a
nut on the backside of the board and keep the support rod from moving. Remember,
where you put this hole should be in the best location to allow for your piece
to remain completely on the board, you don't want a leg or something hanging off
the end. Now,
using your sketches as a guide, start to construct your armature. It should
start with the wires and then bulk out with the aluminum foil. Take your time here. No one likes to
hear this but for a complex piece, an armature could take a day to complete. Keep
in mind that your feet and hands might need to be a bit long until after you
finish putting Sculpey on. This allows you to get the length you need to secure
it without having trouble later on. When your wire skeleton is complete, then
you can move to adding the aluminum foil. Wrapping it on is the best way to
achieve both bulk, and the resiliency it needs to start pressing Sculpey on
next, so do it in layers. Also make sure to keep a spot open for your support
rod to go later, if you don't your piece won't have anywhere to stay put. Keep
checking your dimensions out against your sketches as this will keep you
honest. You don't want to have a finished piece that is huge compared to what
you planned. Last point here: Keep your
armature about 1/4 inch - 3/4 inch less than your sketch. This allows for
the addition of a healthy amount of workable Sculpey (not digging into the
aluminum) in the next stage of work.
Now,
using your sketches as a guide, start to construct your armature. It should
start with the wires and then bulk out with the aluminum foil. Take your time here. No one likes to
hear this but for a complex piece, an armature could take a day to complete. Keep
in mind that your feet and hands might need to be a bit long until after you
finish putting Sculpey on. This allows you to get the length you need to secure
it without having trouble later on. When your wire skeleton is complete, then
you can move to adding the aluminum foil. Wrapping it on is the best way to
achieve both bulk, and the resiliency it needs to start pressing Sculpey on
next, so do it in layers. Also make sure to keep a spot open for your support
rod to go later, if you don't your piece won't have anywhere to stay put. Keep
checking your dimensions out against your sketches as this will keep you
honest. You don't want to have a finished piece that is huge compared to what
you planned. Last point here: Keep your
armature about 1/4 inch - 3/4 inch less than your sketch. This allows for
the addition of a healthy amount of workable Sculpey (not digging into the
aluminum) in the next stage of work.
Step #4: Clean Workspace, Clean Project:
Hard
one, I know. When you're ready to begin make sure all of your stuff is laid out
ready to go and then Go Wash Your Hands.
Gasp! I sounded just like your Mom at dinner, sorry about that. Seriously
though this, makes a big difference. Your hands might looks clean, but when you
start working with Sculpey it literally sucks all of the nastiness right out of
your pores and your fingerprints. Make
sure your work space is free from eraser leftovers, pencil graphite, and
whatever else might be lurking around after you made you armature. It would be
terrible to realize after you've made an awesome piece that there is a piece of
lead sticking through the back.
Step #5: Sculpey Time:
 Don't
go nuts here now, take your time. Keep your armature off of the stand too, as we
don't want to make it more difficult than it should be. The stand is only needed for your detailing
and more specific shaping. Start by put thin strips of Sculpey on and do a good
job of pressing the stuff into the cracks and crevices of the aluminum and
wire. When you have all of your armature sufficiently covered...then you can
start adding more thin strips on, same as before. If you pile it up too fast,
it won't mesh well with the previous layers and you'll have loose Sculpey hanging
off all over the place. Yuck.
Don't
go nuts here now, take your time. Keep your armature off of the stand too, as we
don't want to make it more difficult than it should be. The stand is only needed for your detailing
and more specific shaping. Start by put thin strips of Sculpey on and do a good
job of pressing the stuff into the cracks and crevices of the aluminum and
wire. When you have all of your armature sufficiently covered...then you can
start adding more thin strips on, same as before. If you pile it up too fast,
it won't mesh well with the previous layers and you'll have loose Sculpey hanging
off all over the place. Yuck.
As
soon as your sketches show your done, then you can test mount your armature
onto your support rod, hopefully into that spot you created earlier in your armature
(Wink, wink. Nudge, nudge). Take the piece off the rod for a second and make a
small piece of Sculpey that will act as a plug later for this spot. Put the
piece back on and then you can truly begin to shape your it.
At
this point you will be using your tools from the order in which your working:
from general to specific. Don't try to do everything at once here because you'll
end up with a bunch of mismatched parts that make up your piece and a lot of
time wasted going back and fixing it to look better overall. If you do it in
steps, you'll have no problem. Texturing and details should be last.
Many
hours (or days) later, when you happy with your piece, you can then bake the
piece on a cookie sheet in your oven. Don't
forget to include your little plug you made earlier. As long as you didn't have
any thick chunks of Sculpey, your piece should be done in about 15-20 minutes at 275 degrees. Let the piece cool until it no
longer feels warm and then you can take it off of the stand and plug the hole
with your little piece you baked and some super glue.
Step #6: Paint it Up:
 Whatever
you decided on (oil-based or water-based) make sure you have all the supplies
laid out and ready to go with either mineral spirits or water to clean the
brushes. Working in layers is the best
practice here to slowly build up the most natural color. You can always dry
brush the paint on and wipe it off, or use a clean cloth to wipe it into cracks
but leave the crests clean. One nice thing about the original Sculpey is that
when it is baked properly, it has a nice skin tone. All you really have to add is
accents to make it pop.
Whatever
you decided on (oil-based or water-based) make sure you have all the supplies
laid out and ready to go with either mineral spirits or water to clean the
brushes. Working in layers is the best
practice here to slowly build up the most natural color. You can always dry
brush the paint on and wipe it off, or use a clean cloth to wipe it into cracks
but leave the crests clean. One nice thing about the original Sculpey is that
when it is baked properly, it has a nice skin tone. All you really have to add is
accents to make it pop.
Let your paint dry until it is no longer
tacky and then let it dry for about two more days after that before you put on
a top-coat sealer. Honestly, the longer you wait the better here, as paint
has a tendency to "off-gas" until about two weeks later. This could
potentially cloud whatever top-coat you put on and keep it from looking as good
as you might like.
When
you are ready, take the piece somewhere like a garage or other spot that is a
large space and doesn't have any breezes. Bring some card board with you to act
as a shield. Slowly spray on your top-coat and keep it light. If you over do
it, it will drip down and won't look very good. Give it at least a few hours to
dry and then you should be good. Again,
the longer you wait before touching it the better.
Step #7: Admire the Awesome:
Now
that your piece is finished, you should put it somewhere where folks see it! If
you worked hard the results should show, but to be fair most first pieces can
be pretty terrible. Don't let it get you down though, be proud to show it off,
that way later when your pieces rock, you can show how far you came and impress
a whole new generation of Sculpey sculptors.
I
hope this guide was helpful in at least some small way to any of you who
actually stumble upon my blog, and hope more can be done in the future. If you
have any questions just let me know, and if you need more resources I will
include a list of links afterwards for you to take a look at. Until next time.

